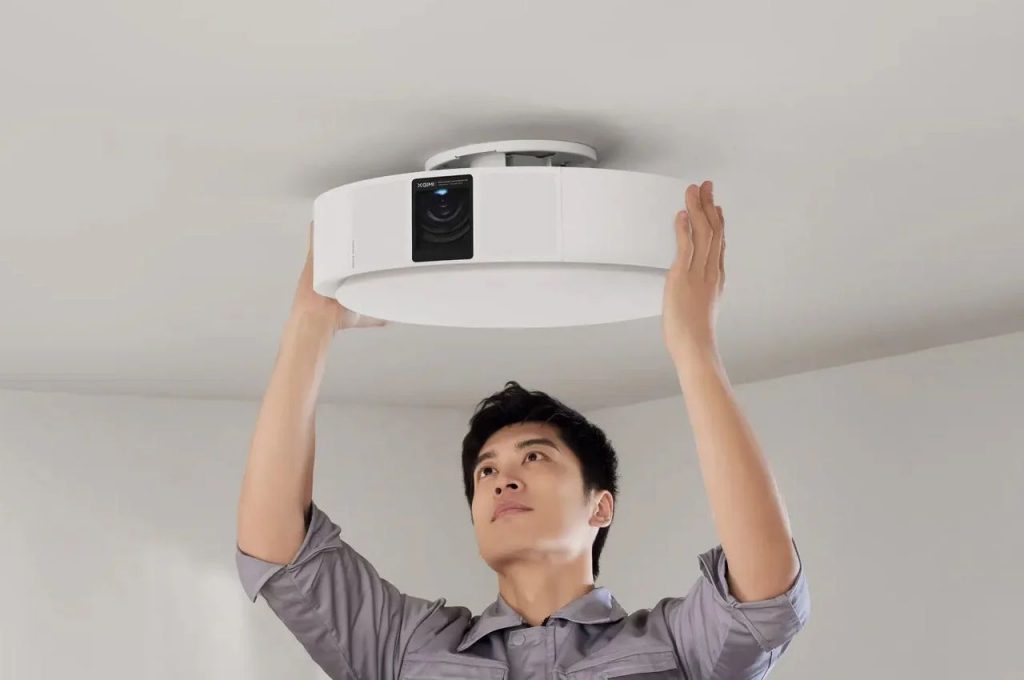
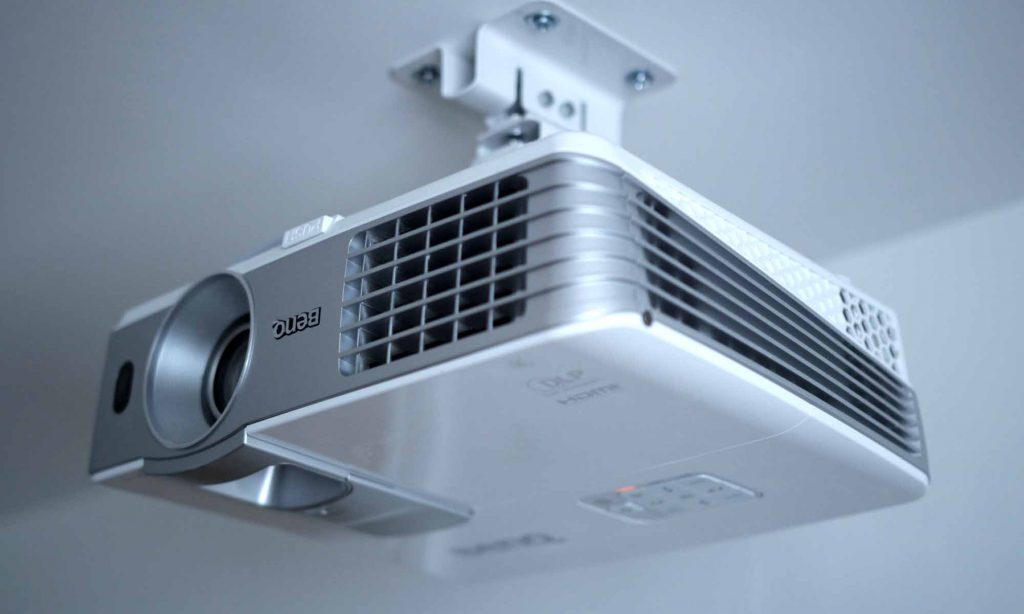
The drop ceiling is also known as a false or dropped ceiling. It is usually placed to lower the actual ceiling and hide the exposed ceiling. The drop ceiling might make the room visually better, but its construction is not as strong as a regular ceiling’s.
Generally, the drop ceiling is attached to a metal construction that hangs on brackets attached to the roof. So, you can not just attach the projector to the ceiling as regularly. Let me explain how to mount a projector to a drop ceiling without a need for professional support.

How to Mount a Projector to a Drop Ceiling
First, you must find the right spot on the ceiling. Then, you should choose the mounting method to attach the projector to the ceiling, which can be a bracket, tile, or universal projector mount.
Choose the mount type and follow its instruction manual to properly install the projector on the drop ceiling. Ensure it is secured, and you are done.
Finding the right spot on the drop ceiling is the first step you have to take to have the best image. You should calculate if you don’t know how to find it. This is a situation where math can be useful in everyday living.
To determine the projector’s position, you should find its throw distance. This number can be found once you multiply the projector’s throw ratio with the screen width.
When you get the distance, you choose a mounting method to attach the projector to the drop ceiling. You can choose a tile, bracket, universal, or do-it-yourself. Almost all methods allow you to adjust the projector’s height and move it back and front to the length of the metal rails on the hanger.
No matter which mount method you choose, ensure it is tightly secured to the ceiling’s metal construction.
Method 1: Projector bracket
The projector bracket mounting method might be the easiest one. Many projector brackets are designed to adapt to every type, whether larger or smaller. The plate and head have “arms” that can hold even extra-large projectors to up to 30 lbs or more.
This option is universal and adaptable to most projectors. For smaller projectors, you can use three “arms” instead of four if the mounting points are smaller than universal ones. Some ceiling brackets have additional “arms” that can hold heavier devices for extra-large projectors.
To mount the ceiling bracket, you have to screw it to the ceiling. Double-check the screws to ensure it is sturdy and secured. The next step is to attach the projector.
Secure the bracket’s arms to the projector device and adjust the height and position of the projector. Finally, lock the securing buttons and ensure everything is connected properly.
Read more: How to Hang a Projector Screen on the Wall

Method 2: Universal drop ceiling
The universal drop ceiling can be easily mounted on the metal construction of the drop ceiling. Most universal drop ceiling projector mounts come with a universal spider adapter and fit almost all projector devices.
In most cases, the construction of this mount is made out of aluminum or steel and can support up to 30 lbs weight. The spider’s arms allow you to position the projector by your preferences. Most universal mounts have flexible and swivel joints that let you adjust the projector’s position.
Some universal drop ceiling mounts come with ceiling tiles that can be easily replaced with regular tiles. You just need to remove the existing tile from the metal rails on the ceiling and put the mount’s tile in the same place. Then, attach and secure the projector and adjust its height and position.
Method 3: Ceiling plate
This mounting method looks like the previous one, but there is no whole tile in this case. The plate is usually made of solid metal, like steel or aluminum. The mounting plate goes in the ceiling’s metal rails and is later secured with screws, or it can go above the ceiling tile.
To mount the plate, you should find the right spot where you want the projector to be and mark it with a marker. Then, you cut a hole in the ceiling tile and mount the projector ceiling plate above it.
Adjust the pipe collar and bring it where you cut the hole. Secure the screws in the metal rails to prevent the plate from sliding. Then, install the pipe and the bracket securely, and later install the projector.
Method 4: Make your own mount
You can make one at home if you want a more budget-friendly option. Instead of buying projector mounts, you can hang the projector to the drop ceiling by using a piece of wood or solid plastic.
Ensure the wood or plastic is more than 1 inch thick and approximately 24 inches long. Place it over the tile and drill matching holes with the projector’s screws.
Secure the projector bracket on the wood/plastic and let it hang. Then, you can cut the ceiling plate to match the bracket and place the projector on it.
Also read: How to Adjust BenQ Projector to Fit Screen
Why Is It Better to Hang the Projector on the Ceiling?
So, now that you have gone through the methods on how to mount a projector to a drop ceiling, you should also see why it is a better option.
If you place the projector on the counter, the image might be disrupted by the people or objects that somehow get in front of the projector. If you place the projector on a lower shelf or table, the people who would walk in front will hinder your presentation.
If you place it on the ceiling, no one will cross the road and get “into” your presentation. Then, you would not see the wires that always look messy. Ceiling-hung projectors would never overheat because their projectors are not covered up, and the air flows much better.
Related: How to Hang a Projector Screen From the Ceiling
Conclusion
I am not a DIY person and always prefer buying a finished product. So, I recommend choosing some of the first three methods because those mounts are made especially for drop ceilings and can hold even heavier projectors.
I believe this short article has helped you find out how to mount a projector to a drop ceiling and what is the best method to do it.