Projector screens are a great way to make better use of your projector. They significantly improve the quality of the projected image and eliminate any bumps or creases in the image that usually occurs when you’re projecting on a wall.
But before you get to the fun part and enjoy your favorite movie or series projected on a high-quality screen, you have to spend some time learning how to hang a projector screen from the ceiling. Though it may seem like a simple task you could tackle in 5 to 10 minutes, you should take your time and consider a couple of factors, such as placement. If you don’t position your projector screen carefully, it may fall quickly.
If you’re wondering how to hang a projector screen from the ceiling, we have a guide that’ll help you ace every aspect of the installation process. So let’s get started.
How to Hang a Projector Screen From The Ceiling
Handing a projector screen isn’t something that’ll take you all day, but to make sure you do it the right way, you have to be very careful not to oversee any step of the installation process. That’s why we’ve neatly laid out every aspect you should be careful with, including all the tools and materials you will need to finish the procedure.
Related: How to Clean Projector Screen
Step one: Get all your tools and materials at hand
To speed up the process and avoid going back and forth with different tools and materials, you should start preparing everything. Make sure you have all your materials and tools at hand, which will save you a lot of time and frustration later.
In terms of materials, everything you need should come included with your projector. To be extra safe and prepared, check whether the package includes:
- Bolts or screws
- Hook snaps and
- Ceiling hooks.
Once you’ve prepared the materials, it’s time to get your tools ready. You will need a tall ladder that’ll allow you to reach the ceiling without a problem. You’ll also need a drill to make holes in the ceiling and a screwdriver or a wrench to lock the screws or bolts safely.
To make things a bit easier on yourself, get a measuring tape and a marker that’ll help you place the screen into the right position. If you’re not sure about the position of the ceiling studs, you might need to use a strong magnet or a stud-finder.
Step two: Find a good position
Before starting with the installation, you have to ensure you choose a good position for the projector if you don’t want to repeat the entire process in a couple of days. When choosing the right spot for the projector, there are two things you should consider: ceiling studs and convenience.
We suggest you start with the ceiling studs, as you cannot simply hang the projector screen wherever you like. You have to find a solid base for the bolts or screws to hang on to, and the best base for a ceiling projector screen is the ceiling studs. If you don’t know where they’re located, use a magnet or a stud-finder.
After finding the ceiling studs, you can start thinking about convenience. You now know your options, so you can decide where to place the projector screen. Find a place at a reasonable distance from your couch and projector, and have someone hold the screen in place to get an idea of how it would fit the location.
Additionally, if your projector is at a fixed location, you should also consider its throw and abilities. There are short and long-throw projectors, so you’ll have to set up your projector and the screen according to the projector’s specifications to get the best image.
Step three: Getting the screen ready
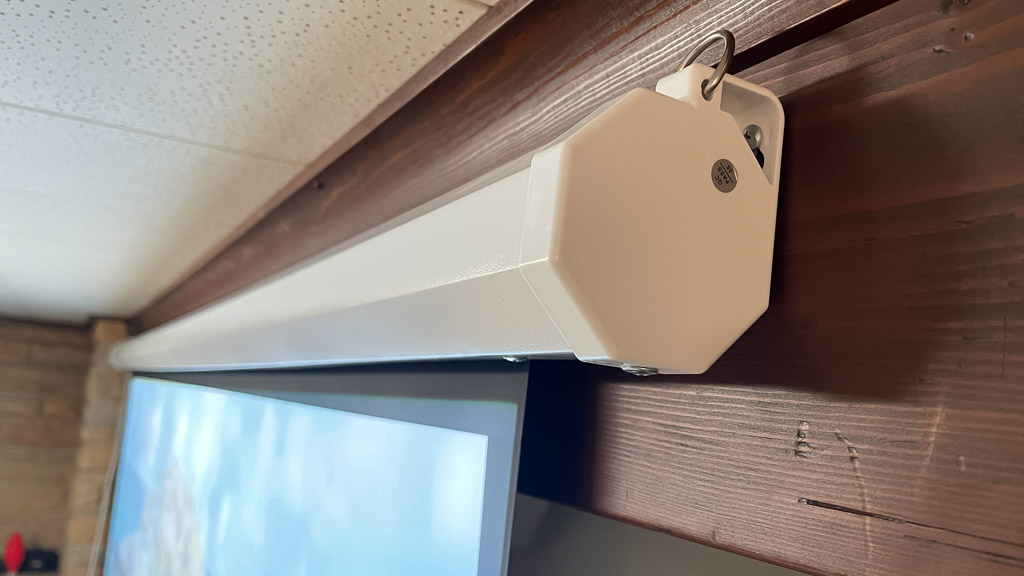
On top of the screen casing, you should find brackets that’ll hold the screws that go into the ceiling. Insert the screws and snap the hooks. You can either use eye bolt screws or toggle bolts. Regardless of what you use, setting up the screen for hanging is pretty much the same.
Also Read: What Can I Use for a Projector Screen?
Step four: Measure and install
Once your screen is ready to be mounted, it’s time to look at the ceiling. Measure the distance between the ceiling brackets attached to the bolts or screws, and place your marks on the ceiling.
Eyebolt screws
Eyebolt screws are the easiest and fastest way to hang your projector from the ceiling. All you have to do is insert them into the ceiling. They usually twist in pretty easily, but feel free to apply a little pressure or even pre-drill a smaller hole if needed. After placing them into the ceiling, attach the hook straps you’ve already connected to the screen, and you’re good to go. Make sure you double-check the endurance of the eyebolt screws and secure the attachment to avoid the screen from falling.
Toggle bolts
Toggle bolts are slightly more challenging to install, but they provide a more secure attachment to the ceiling. With toggle bolts, the first thing you have to do is drill a hole that’ll hold the folded wings on the bolt. Next, take the wings off and insert the bolt into the ceiling hook. Once the bolt is in the hook, reconnect the wings, leaving some space at the top. With the wings in place, you can place the bolt into the ceiling hole. Tighten it and hook it into the ceiling with a screwdriver. Once safely in place, you can attach the projector screen using the hook.
Also Read: How Big Is a 100 Inch Projector Screen
Conclusion
When considering how to hang a projector screen from the ceiling, you have to be careful with a couple of factors, but generally, there are two ways to do it: using eye bolt screws or toggle bolts. The first method is the fast way to do it, but it doesn’t offer the extra safety of toggle bolts. Toggle bolts make for a better attachment, but this method usually takes longer to complete.
Regardless of which method you choose, make sure you complete the installation process carefully and provide a secure attachment, or your projector screen might fall within a couple of days.