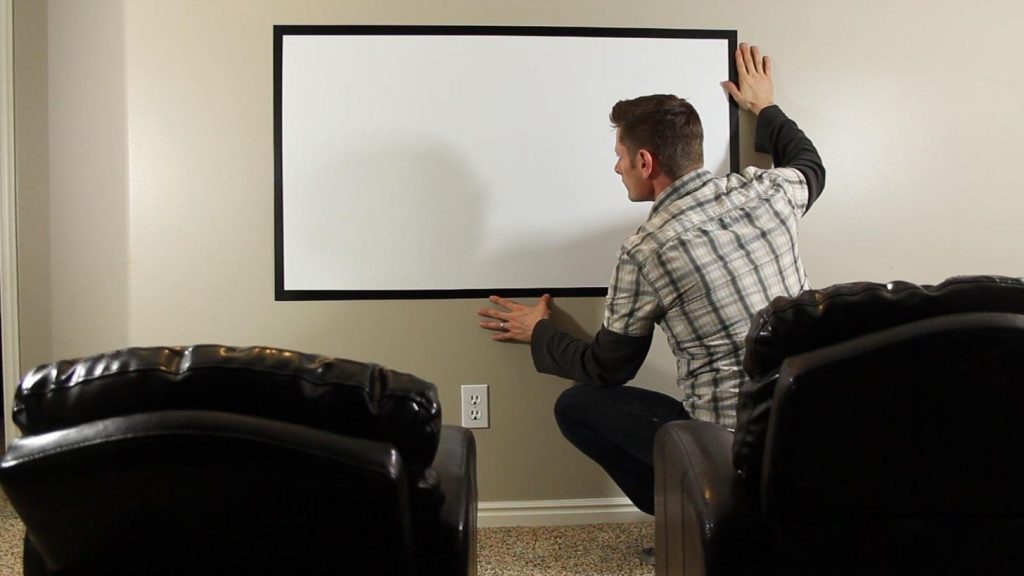
We all know that the walls in our homes are the cheapest substitute for a projector screen. But what about us who have multi-colored walls, walls covered in wallpapers, or simply orange-peel walls? Won’t that make Angelina Jolie’s face a bit strange?
Lucky for you, I understand your struggle, my friend, and your need to make your projector screen. You can’t use your wall and don’t want to spend money on a pre-manufactured one. So, I’ll teach you how to make a projector screen. You’ll be ready before you say ‘Movie’!

How to Make a Projector Screen
Before you start making a new projector screen, you should decide whether you’ll use the screen frequently, where you will use it, what will stay behind it, and whether you will move it regularly. All these factors impact the type of screen you need. What you should keep in mind:
- Blackout cloth is the best substitute for a projector screen;
- Bed sheets may work but are not thick enough to distribute a quality picture;
- Using wrapping paper sounds practical, but I don’t recommend this material if you’re a sharp-eye movie fan;
- You must buy acoustically transparent material if you need a projector screen for an outdoor music event;
- If you don’t plan to move your projector and have found the perfect spot in your home, maybe using your wall is the best option; however, I strongly recommend using screen paint;
- It’s essential to consider whether you’ll move the screen frequently;
- If you decide to make a fixed projector screen, consider the space between the screen and the projector, especially if your projector doesn’t have a built-in zoom.
How to make a projector screen with blackout cloth
Many will agree that using a blackout cloth for a DIY screen is the best option, mainly because this material is cost-effective and displays a high-grade picture.
So, you have to measure the space where you’ll put the screen. As I said previously, you should also pay attention to the distance between the projector and the screen regardless of whether you’ll use the projector for outdoor or indoor movie day. After you get your dimensions, it’s time to work!
Make a frame and attach the cloth
First, you’ll need a frame to hang up the material. Now, I recommend you go and buy a frame, but I’ll understand if you want to do the entire project on your own. If that’s the case, you’ll have to buy materials and use your handyman skills to create a stable frame that will hold the screen.
Word of advice – even though wood frames look very nice, you may find them harder to build. Moreover, they’re heavier and thus not suitable for moving the screen from one place to another. If this is your first DIY screen, I recommend a PVC frame.
Now, you should iron the fabric carefully and ensure no creases. When you mount the cloth on the frame, work slowly and ensure it’s stretched evenly. You can sew a sleeve and slide the pipe through it or add zip ties on each corner.
How to make a projector screen with paint
You should consider this DIY method for a new projector screen only if you need a fixed screen and have a smooth wall and enough space between the wall and the projector.
As I said earlier, the wall screen is not the best option because it can work for everyone. On the other hand, if you don’t want to move your projector and your wall is blank and smooth, it’s best to get screen paint.
It’s crucial to keep in mind that you can’t use the paint left in your basement from last year. This will not work with regular paint types, as your screen will reflect dull pictures.
That being said, if you decide to go with this method, the first thing you have to do is to inspect the wall that will be your future screen. Make the measures and consider the ambient light around the wall and in the room.
Start painting
The next step is shopping. I recommend you thoroughly research which paint you’ll use and pay a lot of attention to the color you’ll use because that’s very important.
For instance, white color has the least amount of reflective ability, which is ideal for rooms with low ambient light. However, it doesn’t display strong blacks.
On the other hand, the black color absorbs ambient light. Therefore, you can use black color screen paint if you want to build an outside wall or a room with a lot of light.
After you choose the right color, make sure to cover all imperfections on the wall. Keep in mind that the surface should be even to get the best viewing experience. I recommend you use sandpaper if you notice some bumps.
Once you start painting, my advice is to go slow. Make the color mixture carefully so that it will be smooth. You shouldn’t skip the primer before the first coat, as it improves the durability of the screen.
Pro Tip: It’s always better to mark the area you want to paint. You can create a frame with masking tape that will serve as a border and prevent you from painting outside the screen dimensions. Also, using a small roller will give you more control.
Read more: What Color Screen Is Best for a Projector?
Conclusion
Even though there are numerous recommendations on how to make a projector screen, I advise you to use a blackout cloth on a PVC frame or paint a wall with a special projector paint.
Blackout cloth is the perfect material for a movable screen because it doesn’t cost much, is durable, and it can display a high-quality picture.
On the other hand, projector paints are perfect for fixed screens, are easy to do, and you won’t need to build or buy a frame.