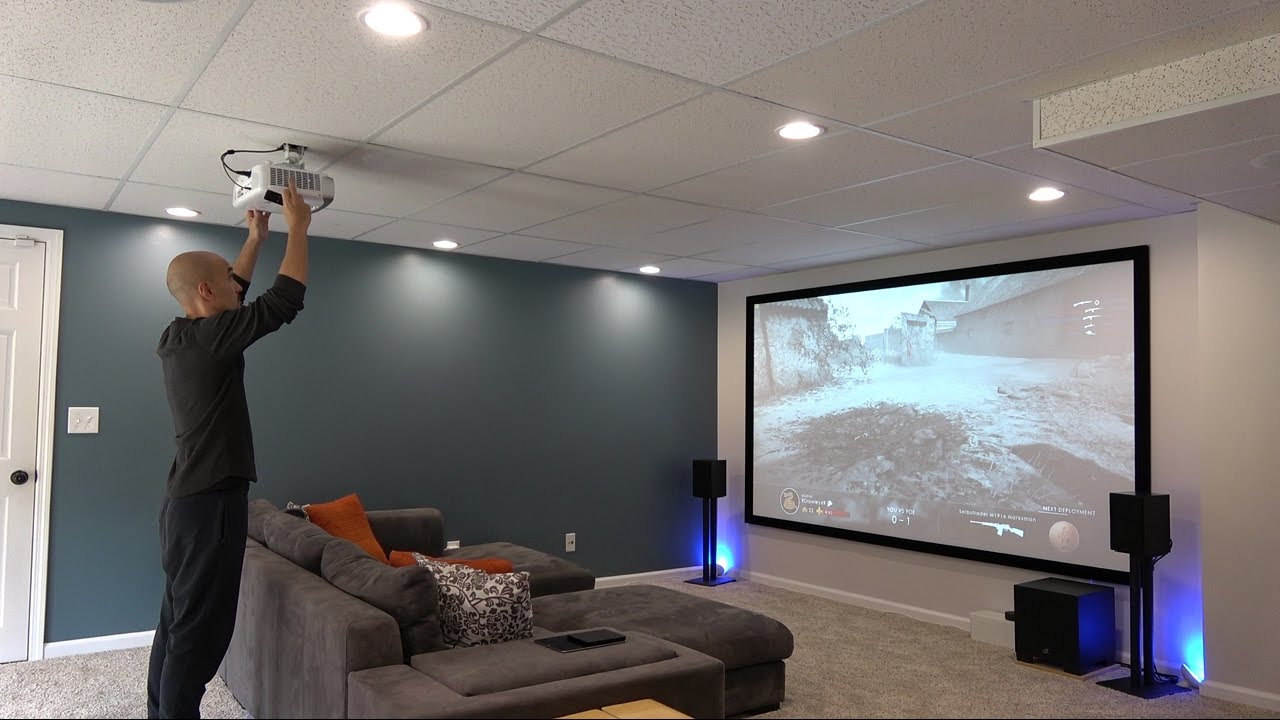
As the theaters will be closed for the foreseeable future, this is an excellent time to learn how to put up a projector.
You’ll need a few things to get started, not the least of which is a projector. This article will go over what you’ll need and where you should put it to set up your environment.
Projectors are a practical way to have a movie theater-like experience without paying a fortune, producing a considerably larger image.
Let’s get started on figuring out how to set up a projector.

How to Set up a Projector
Setting up the projector correctly, regardless of its size, is essential. The throw ratio is the distance the projector must be from the screen to produce a specific image size. Your projector’s manual can help you figure this out.
After the colon, there’s another number, and that’s what it looks like. You need to be at least 1.15 meters away from the projector for a one-meter wide image, 2.3 meters away for two-meter wide images, and so on, depending on the ratio.
A “short-throw” projector, on the other hand, doesn’t need to be as far away from the screen to produce a large image. This makes it ideal for tight spaces.
Before purchasing a projector, consider whether you want a short-throw or long-throw model. It’s much easier to buy a new projector than to purchase a new home cinema room!
A projector screen is something else to keep in mind. If you want to get the most out of your new projector, you’ll need a screen. You can use a blank wall if you prefer, but projector screens are designed to reflect light better. Using one instead of a standard wall gives you a sharper, more colorful image.
Also, having a solid black frame around your video that the screen provides can significantly enhance contrast levels.
Related: How to Hang a Projector Screen on the Wall
Location
There are a few things to keep in mind before anything else: You need to decide where you want to put this and where you feel most comfortable using it. A blank wall or projector screen is the first thing you’ll need to ensure a clear video view. Better to have a large area.
You can give up as much space as you want because most projectors today can deliver images with resolutions ranging from 40 to 300 inches on a screen. As a caveat, since larger images tend to be dimmer, we don’t necessarily recommend going overboard.
Another thing to remember is that larger images require that the projection device be moved further back, so you’ll have to consider seating arrangements because you can’t sit directly in front of the beam.
Set up the screen
Setting up a screen is the next step if you have one. Also, television is highly recommended. Screens can reflect or even amplify your projector’s light better than a wall, resulting in a brighter image that is more consistent across the screen.
Do a test run with the projector and screen before permanently mounting anything to ensure that your sizes and distances are correct.
Height
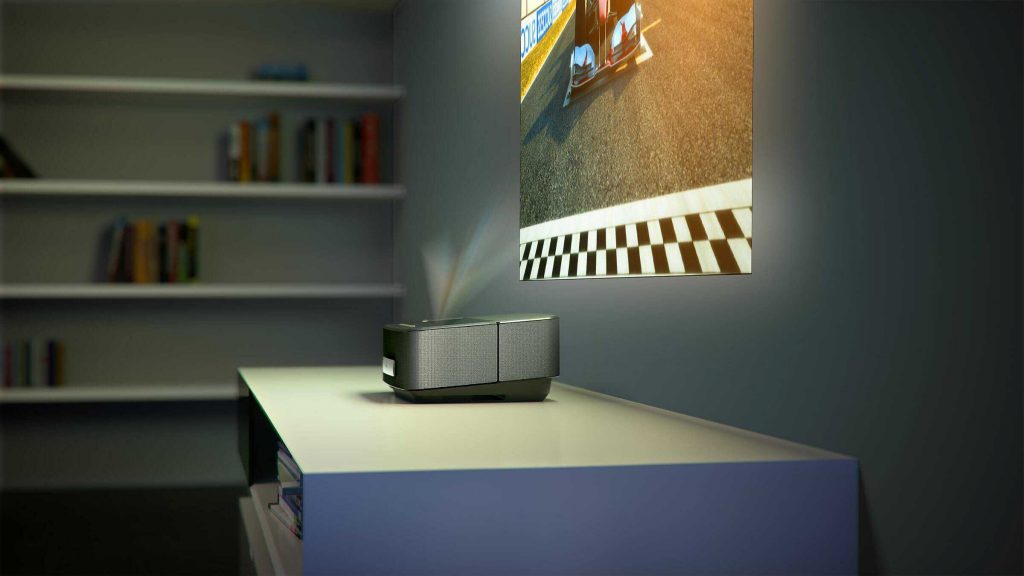
We’ll assume you’re mounting your projector on a table from the front for this guide, which is the most common setup. Ceiling mounts, on the other hand, follow a similar pattern.
To avoid trapezoid-shaped images, you must ensure that the height is correct. This might not be a big deal for some people, but it can be extremely frustrating or even impossible for others.
It is common for projectors to have an “upward throw.” In another way, the image is projected above the focal point when using a wide-angle lens. The higher the model, the greater the difference.
Because the projected image will be near the center of the wall or screen, even though the projector is closer to the floor or ceiling, this is a great option for a coffee table or ceiling mount.
However, because the image will be projected on the upper part of the wall and possibly the ceiling, mounting a projector on a stand behind you will be difficult. Check out projectors with either lens shift or no upward throw if this is the location you desire.
Project an alignment image
To ensure that everything is in place, you can use an alignment image like the one shown above. If you’re interested, you can find a useful pattern on the website of Spears and Munsell.
It also comes with a helpful setup disc that will assist you with a number of these procedures. You could also turn off the lights and only look at the image’s edges. It’s important, however, that you use actual video.
If the image isn’t square, the most likely cause is that the image isn’t perfectly parallel to the screen. The projector will be easier to align if you know exactly how far apart everything is. Avoid using the projector’s keystone adjustments unless necessary. These devices digitally resize the image to a square. Resolution and image quality are sacrificed in the process.
Using a lens shift, on the other hand, mechanically adjusts the angle of the lens or moves it and has little to no impact on the image quality.
Connecting devices to projectors
Projectors are frequently equipped with various ports and interfaces, allowing them to be connected to various devices. Many interfaces include HDMI, USB, RCA, composite in and out, headphone jacks, etc.
With these ports, you can plug in everything from Blu-ray players and gaming consoles to laptops, smartphones, and speakers.
Select the right picture mode
It’s time to polish the projector now that it’s all up and running. If you’re using a projector, you’ll need to select the appropriate picture mode. A “Movie” or “Cinema” usually offers the best picture quality in a dimly lit room. You may want to use a brighter mode like Vivid or Dynamic, but be aware that they tend to skew blue, green, or both.
Learn how to get the best results with our step-by-by-step guide. Although this guide is geared toward televisions, the same settings also apply to projectors.

Setting the audio
It is always good to avoid using in-built speakers when setting up audio because they are completely pointless.
Stereo speakers, 2.1 subwoofer systems, or Bluetooth speakers are all viable options for your living space.
A home theater audio system, such as a 5.1 surround sound system, would be best for a truly immersive experience.
To begin watching your favorite show, all you have to do is turn off the lights in the living room.
Read More: How to Set up a Home Theater Projector
Conclusion
As previously said, putting together a home theater with a projector is simple. Even with high-end technology and competent installation, having a huge screen is the most cost-effective alternative.
Good luck putting everything together! We hope you now have a better understanding of how to set up a projector.