The boredom has been unbearable with people stuck at home for the past few years due to the pandemic. And even now, with almost everything reopening, many people are still afraid to visit cinemas. On the other hand, people avoid movie theaters because of too high prices. This makes experiencing movies on the big screen impossible for those with fewer means. But how to set up a home theater projector?
However, what if we told you that you could have the same experience right in your home? Now you may wonder how that is possible, and the answer is with a projector. You can use the projector even for your gaming sessions, making them much more epic. Furthermore, you can make watching sports games with your friends at home an actual event.
A projector is useful for whatever you may think of watching on a screen, and as far as big TV screens go, they do not really measure up to the experience a projector can provide. However, if you want to enjoy this viewing experience, you will need to know how to set up a home theater projector.
How To Set Up Home Theater Projector
If this is your first time using a projector, or you got yourself a new model, you will need some guidance in setting it up. We made this step-by-step guide to tell you how to set up a home theater projector fast and easily.
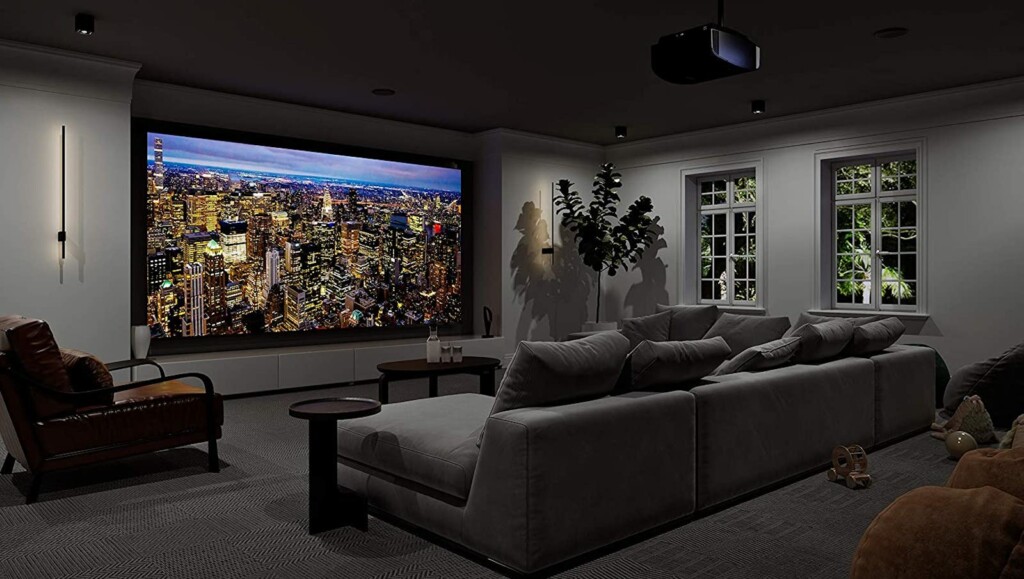
Step 1: Consider Your Space
When you go from tv to a projector in your home theater, you will probably need to reorganize some things. Before you do anything else, you will need to place the screen you will be watching and the projector itself.
If you decide to set up a home cinema with a projector, one of the most significant factors is to think about the light. Consider your existing light sources, like windows. The brighter and clearer your image is, the less artificial light reaches the projector lamp and screen.
The second key distinction is that you are not bound to a specific image size. Depending on how you set the light and the distance between lamp and screen, most projectors have a vast range of potential screen sizes. The larger the screen, the greater the distance between the light and the screen, and the more sensitive the image is to light pollution.
Step 2: Choose The Right Projector
The projector is the most significant component of a home theater because it allows you to go far beyond the size of a television – up to 150 inches in diameter. The projector is the most significant component of a home theater since it allows you to go beyond the size of a television.
Movie buffs who expect to watch exclusively in a blackout should not be concerned with brightness, but sports fans who want to watch at noon should search for a projector with at least 2,000 ANSI Lumens luminance. However, ensure you get a device that is designed for home cinema rather than corporate presentations. It is worth mentioning that projectors with a 3D-ready standard will probably need the purchase of a transmitter and 3D glasses.
Step 3: Choose How You Will Get The Content
When you switch from a TV to a projector, this is the element of your home theater setup that will likely stay the same. You should purchase a projector compatible with your preferred method of watching TV and movies. The basic HDMI input found on all home theater projectors will be enough if you usually view stuff through a streaming site or gaming console. VGA, MHL, and wifi streaming options are not available on many projectors, so make sure to look for them if you need them.
Step 4: Consider The Sound
If you are using a TV to watch your shows, movies, etc., you can expect to have a decent sound system already built into the TV. However, it is not the same with a projector, mainly because projectors are smaller devices, and their speakers are usually ten watts. This is simply not anywhere near satisfactory for a home theater.
If your room does not have the space for an entire sound system, you can always connect a good-quality Bluetooth speaker. You will need to get a projector with built-in Bluetooth or an external Bluetooth transmitter. Or you can use any kind of speaker connected to the projector.
Also read: How to Set up a Projector
Step 5: Connect All Of The Components
Before connecting the pieces, ensure that you have them all first. The process will go smoothly if you have all the necessary screws, wires, and tools at hand. You will not need to start and stop to get the tool you need if you already have them next to you.
Another thing you should do is to read the manual thoroughly to ensure that you connect all the pieces correctly. You will not want to restart the connecting process if you make a mistake along the way.
Step 6: Finish Up Your Installation
After you hang your screen, mount your projector to be in line with the screen, and the speakers are in their chosen space. Ensure that all the wires and cords are in their place and have not come loose because that can be a potential hazard. You can then test out your home theater by watching an episode of some show or playing a quick game on your console. If everything is running smoothly, you are ready to set up a movie night with your friends or family.
Also read: How Much Does a Home Theater Cost
Conclusion
Hopefully, you found our guide on how to set up a home theater projector helpful. The steps are easy to accomplish on your own, so you will not have to spend money on hiring someone to come and do it for you. Make sure to follow them and check that everything is in its place, and you are ready to enjoy your very own home-built theater. You can invite your friends and have a movie marathon or have yourself a relaxing night of gaming.