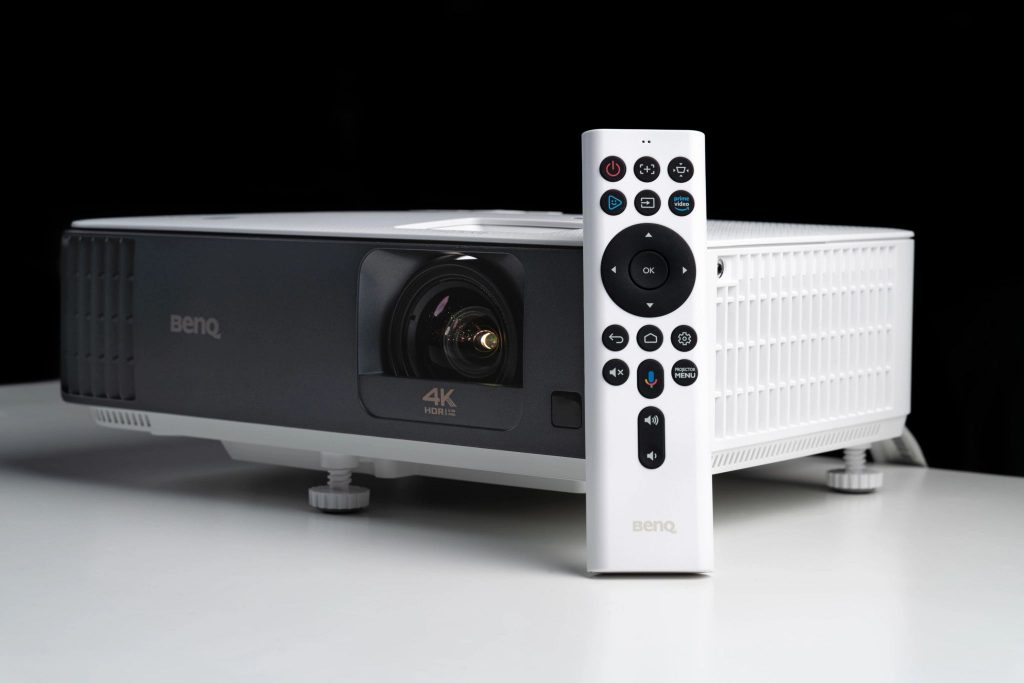
If you are new to the BenQ projectors family and unsure how to adjust BenQ projector to fit screen, worry not. In this article, I will explain in detail the numerous methods you can try to adjust your BenQ projector to fit the screen, and what is more important, after reading these instructions, you will be able to do this all on your own.
So, if this sounds like something you have been waiting for, let’s jump straight to the article.

How to Adjust BenQ Projector to Fit Screen
Even though you are not a projector professional, with the help of this article, you might as well become one. I made sure to simplify and explain in great detail all the methods and steps on how to adjust BenQ projector to fit screen so that the next time you will need to do this, you can do it independently.
All the instructions you will read are extremely simple and easy to understand. Most importantly, they are adjusted for the wider audience that does not have much technical experience with projectors and this type of technology.
In continuation, we will start with the most popular and widely-used method to adjust the BenQ projector to fit the screen, so let’s begin.
Keystone corrections
The first thing you need to try to adjust the BenQ projector to fit the screen is the Keystone corrections. If your image looks narrow at the bottom and wide at the top or vice versa, if the image’s corners do not line up properly, or if the image has that trapezoid shape in general, starting with Keystone corrections is the best step.
Namely, the name of this option, Keystone, comes from the masonry, or more specifically, the keystone is the last stone supporting the arch up, which makes for that trapezoidal shape, just like the picture on the screen. With the help of this digital control and setting, you can very easily adjust the picture up or down and make it fit the desired screen perfectly.
Once you start adjusting the image with the help of the Keystone correction, take it slowly and do not stop until the image is rectangular and the top corners line with the screen’s top corners, and the bottom corners align with the bottom’s corners in straight lines.
Vertical keystone correction
Not many people are familiar with this, but the keystone corrections also include a vertical correction. Although this correction might be on the more advanced side and needs a little bit more time to perfect, it is actually of great help when it comes to adjusting the BenQ projector to fit the screen.
Horizontal keystone correction
The horizontal keystone correction is basically the most used one, and it serves to alight the horizontal lines of the image with the horizontal borders of the screen. Play with it around as you see fit until you reach that perfectly straight line that is 100% matching the top and bottom corners of the screen.
Read more: How to Flip Epson Projector Image

Zoom adjustments
Once you adjust the image with the keystone corrections, the chances that your image will still overlap the screen are high. If this is the case with your BenQ projector too, you can continue with the zoom adjustments.
You can find a zoom ring on your BenQ projector on the lens. All you need to do is to rotate the zoom ring left or right to zoom in or zoom out according to what option you need to make the projector image fit the particular screen.
Straighten the projector image
Straightening the projector image is of key essence when it comes to adjusting your BenQ projector to fit the screen. As there is no one unique and individual option for this, you will need to try and do a few small adjustments on various options to achieve the perfect result in the shape of a perfectly straight-fitting image.
First, I suggest you try and adjust the angle of the picture. Go very slowly and patiently as one wrong move can make all your work until now be ruined. The next adjustment you can try in this combination is zooming. You might try and do this with the help of the button, or you can manually move the projector itself slightly forward or backward until the image and the screen become one.
Finally, shifting the keystone projection. I strongly recommend that you are not making any serious or big movements or changes here. Instead, make as minimal adjustments as possible to get those refined final touches.
Adjusting the angle with the help of lens-shift controls
The first thing I would like to mention here is that the lens-shift control can not be found on every model of the BenQ projectors. More specifically, if you have a budget model BenQ projector, the chances of having this option are low.
But if your BenQ projector comes with lens-shifting controls, you are in luck. Namely, this option is an amazing substitute for manually moving your project around and adjusting it to fit the screen. With the lens-shifting controls, you can modify the length of the lenses and screen without moving your projector closer or further.
Moreover, you will be able to modify the position of the lenses, especially in the top corners of the screen, which is an amazing time-saving feature and an effective way to adjust your BenQ projector to fit the screen.
Adjusting position
Adjusting the position of the image can be easily achieved with the help of the two ‘+’ and ‘-’ buttons. Use the ‘-’ button to move from one to the other side of the screen in cases where the picture is too off-centered, and use the ‘+’ button to move the picture up and down and make it fit within the borders of the screen.
After you are satisfied with the result, click on the Enter or OK button. You will see a confirmation message on the screen suggesting that the preferred modifications have been successfully made and saved.
Also read: How to Clean Projector Screen
Conclusion
In this article, you could have read the best and most straightforward methods and ideas on how to adjust BenQ projector to fit screen. I made sure to include all the necessary information you would need so that you will have the proper information and knowledge the next time you need to do this.