Vankyo is a well-known company founded and registered in Shenzhen, China. IDJ, Huawei, and Lenovo are just part of its core members, which points out the quality and performance of the Vankyo products.
If you are thinking about buying a Vankyo projector because of its outstanding quality and portability, here is a guide on how to set up Vankyo projector, whether for home, business, or school use.
The initial reason why I have chosen this brand is that its products are simple to set up, portable to carry and give you a high-quality projection. Thus, let’s get started!
How to Set Up Vankyo Projector
Open the Vankyo projector box and take the projector out. All Vankyo projectors come with a power cord, remote control, additional connection cables, manual, etc. Plug the projector into a power output and choose a connection method. Ensure the connection between the two devices is established and project the content you want.
The projector connections are on the back side, each marked with letters to tell you what cable type you should put. You can also wirelessly connect any device to the projector since most projectors have an inbuilt wireless adapter.
On the bottom, you will see a wheel for adjusting the height and position of the projector. It is excellent if you lift the projector a few inches.
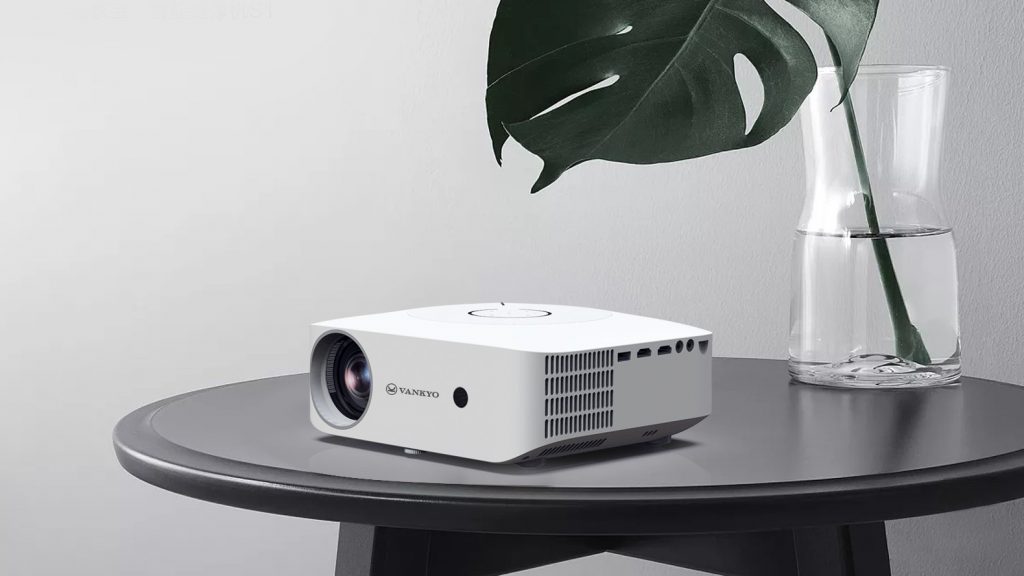
The lens is covered with a protective cap that you should remove before using the projector. It is best to put the cap back on when you finish using the projector to protect the lens from stains, dust, and scratches.
Since the device comes with connection cords, you can choose one and connect it to the streaming device. On the remote, click the output button and choose the input source. You can use VGA, HDMI, AV, SD, USB, and Screen Mirroring connections.
Steps to Set Up Vankyo Projector
Set up the device
Remove the device from its case and dispose of all papers and foils. Review the functions, inputs, outputs, and options that the chosen Vankyo Projector has. For example, see if it has a height adjustment wheel, focus adjustment option, buttons, etc.
The buttons you see on the projector are the same as you see on its remote control. No matter your choice, the projector and remote will help you manage the settings.
On the back side of the Vankyo projector, you will see the input methods, each marked with the proper name and type of connection. Plug the power cord into the power output and turn the projector on by pressing the power button on the device itself.
Most Vankyo projectors have a VGA, two HDMI, micro SD, VG, and USB connection outlets. Also, you can connect the streaming device to the Vankyo projector wirelessly if both devices support the same wireless connection feature (Bluetooth, WiFi).
On the top of the Vankyo projector, you will see two adjustable wheels, which will help you manage the keystone and focus. Also, the Vankyo projectors can be turned off by double pressing the power button on the projector device.
Read more: How to Connect MacBook to Projector Wirelessly

Set up input source
As I mentioned, you can connect almost all types of devices to the Vankyo projector, whether wired or cordless.
Wired connections
The SD card has a special place in the back. You will see a long input on the projector named SD, which is a place for the SD card.
You will see an audio outlet next to the SD card outlet. You can connect any audio device, such as headphones, speakers, etc. Then, the next outlet is named AV and is made for all devices that support this connection method.
The fourth and fifth outlets are the same and are named HDMI. All new device generations support this connection method. You can connect a laptop, TV, and so on using the HDMI cable.
Next is the USB connection port, where you can connect various smart devices, such as your smartphone, tablet, hard disk, USB, etc. The last one is the VGA port. There, you connect all older devices that support VGA cord connection.
Wireless connections
The wireless connection allows you to use the WiFi connection and Screen Mirroring feature, which are present in most smart devices nowadays.
When connecting your iOS device to a Vankyo projector with the Screen Mirroring feature, you should manage your mobile device first. Open the settings and connect to the Vankyo projector. Then, please enter the password and select the projector device once it shows among the available connections.
If you want to connect your mobile device via WiFi, you should connect both devices to the same network. Open the connection settings menu and pair the mobile device to the projector. Open a browser on your iOS smartphone, enter 192.168.49.1 in the search tab, and connect to the Venkyo router via WiFi.
Android users can connect to a Vankyo projector with screen mirroring and WiFi. Select the Screen Mirroring setting on the projector as an input source and pair the devices. Activate the Multi-Screen feature on the Android device, scan for the projector, and connect both devices.
Adjust the distance
Once you enable the connection between the Vankyo projector and the streaming device, you should adjust the projector position and distance.
Check the focus and position and ensure you see a clear picture with good quality on the projector screen. Adjust the distance depending on the seats and projector screen size.
Also read: How to Set up a Projector
Conclusion
I hope this guide has helped you learn how to set up Vankyo projector using wired and wireless methods. You can choose the best method that suits you.
The connection and setup are not complicated processes since everything is properly labeled and simple to connect. If you face some troubleshooting issues, contact the seller or open its FAQs manual that is included in the Vankyo projector package.