If you think connecting a computer to a projector is easy, the wireless connection will be much easier for you. The most important thing to consider in the wireless connection is to connect both devices to the same WiFi network.
You might encounter a connection issue if your projector is older and has no in-built WiFi adapter. But it can be easily solved if you buy a USB WiFi device.
The wireless connection will save you from buying cables, making a mess of cables in your room and enable a more steady connection without worrying if the cable is damaged or not. You can also place your MacBook wherever you want without disrupting the WiFi connection.
So, if you are interested in switching to a wireless connection, the steps below will show you how to connect MacBook to projector wirelessly.

How to Connect MacBook to Projector Wirelessly
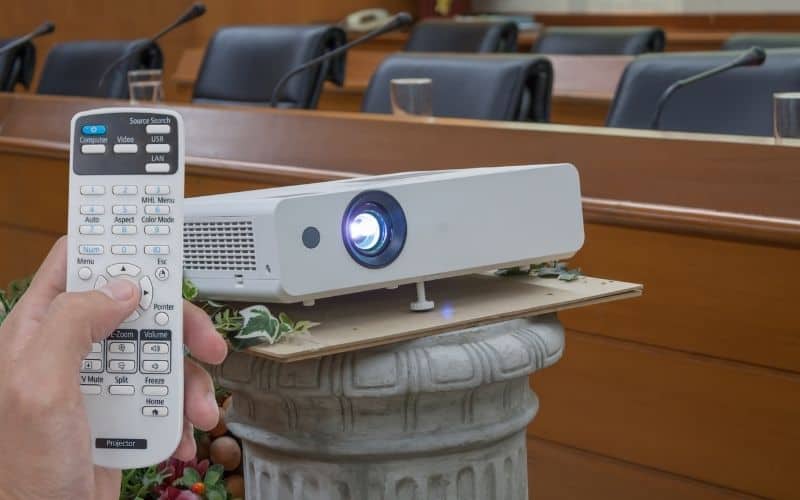
Begin with connecting the projector to a wireless network. Then, connect your MacBook to the same wireless network you have connected to the projector. When both devices are successfully connected, choose the Screen Mirroring option on your Mac and search for the projector name. Once the name appears, double-click on it and start mirroring.
As we said before, it is so simple and easy, it will save you from buying connection cables that often damage, and there would be no more mess of cables on the floor. The wireless connection enables you to move and place the MacBook wherever you want.
With the wired option, the cables might be too short, so you will have to place the Mac near the projector. So, forget about this because it is going to be part of the past once you discover how good the wireless connection is.
There might be one issue that may cross the road. It is about the WiFi adapter of the projector device. Some projectors have an in-built one, while others have no WiFi adapter and would not work wirelessly.
But every problem has a solution, and you can easily fix the adapter issue by buying a USB WiFi adapter for the projector.
Related: How To Connect Projector To Laptop Without VGA Port
Wireless MacBook Projector – Advantages and Disadvantages
Advantages of wireless MacBook to projector connection
No more cables
This means you are going to save the money you usually spend on cables that easily damage. Also, you are not going to be limited on where to place the MacBook since the wireless connection lets you move it around freely.
Better flexibility
You would not face issues like with the wired connection and its restrictions. With the wireless MacBook-projector connection, you can be at any convenient location within the WiFi range and face no connection issues with the projector.
Tidier home cinema
Wires often make a mess, and no matter how tidy the place is, it will look messy with scattered cables. The wireless connection lets you enjoy your home cinema in a more posh style, without the need to jump over the cables or beware if they are going to get stuck around your ankle.
Easier switch between computers
You might know that switching the projector from one device to another might require a different cable, and it might take time to switch the computers or devices.
With the wireless connection, it is much easier since one device disconnects and another one connects to the projector instantly, with zero transition delays!
Disadvantages of wireless Macbook to projector connection
The wireless connection has a few drawbacks, too.
- As we know, the wireless connection goes through the radio frequencies our WiFi router emits. But, in some cases, the data traffic may face delays if the WiFi bandwidth is too crowded or the signals are weak.
- If the WiFi signal is too weak, you may need to install a wireless USB dongle to the projector.
- Some projector brands and models can not emit a full-motion video in real time. This might be an issue in artistic or educational presentations.
- Low-resolution projectors might be good for presentations but not home cinema. If you need a WiFi projector for a home cinema, you should buy one with a greater resolution (of about 1080p) so as not to face connection issues and delays with the wireless connection.
How to Connect MacBook to Projector Wirelessly Depending on the Brand
There is a reason why we chose these two projector brands. Some projectors enable straightforward wireless connection to your MacBook, but some of them need a software installation to enable the wireless connection.
These two brands of projectors require installing software to enable the wireless connection to your Mac.
Panasonic
Panasonic projectors require installing the “Wireless Manager ME 5.5” software that usually comes with the projector.
- Turn the Panasonic projector on;
- Launch the wireless software application on your Mac;
- Create a username and click “OK” when you are done;
- The app will scan for projectors in the range;
- Double-click on the projector you want to connect to;
- Click on the “Connect” option that appears in the dialog;
- Confirm the process to switch to Panasonic projector wireless connection;
- Choose the “AirPort” option on the Network Adapter Selection window;
- Enter Mac’s administrator password and finalize the wireless connection configuration.
Casio
Casio projectors require installing the “Wireless Connection 3” software that comes in a CD shape together with the projector device.
- Put the CD in your Mac;
- Press the “Input” button on the Casio projector and wait until “Wireless” appears on its screen;
- Launch the software on the Mac;
- Enter the login code* when the program asks for it to establish the connection between the two devices.
*The login code is usually written on the projector’s manual.
Also read: How to Watch TV on a Projector Without a Cable Box
Conclusion
I am happy if these tips have helped you switch to a wireless connection and watch movies in a tidy home cinema.
The wireless connection between your MacBook and projector can be established in seconds, and I would be happy if my tips have helped you enable it!