If you are a movie buff, you have likely heard of rear projection as a film technique back in the 40s and 50s, better known as Hollywood’s golden age. However, if you do not know how it works, you may wonder how to do rear projection.
If you are a film student, you may need to rear projection for a school project. Or maybe you want to try new things with your projector and mix them up during your movie nights. Whatever the reason, maybe it is a good idea to know everything about your projector’s capabilities. The process is pretty straightforward, and I will go over it in more detail below.

How to Do Rear Projection
In order to do rear projection with your projector, you will need to place the projector behind the screen. Placing the projector behind the screen instead of behind the audience is called rear projection. Rear projection is helpful in not taking up too much space.
Rear Projection
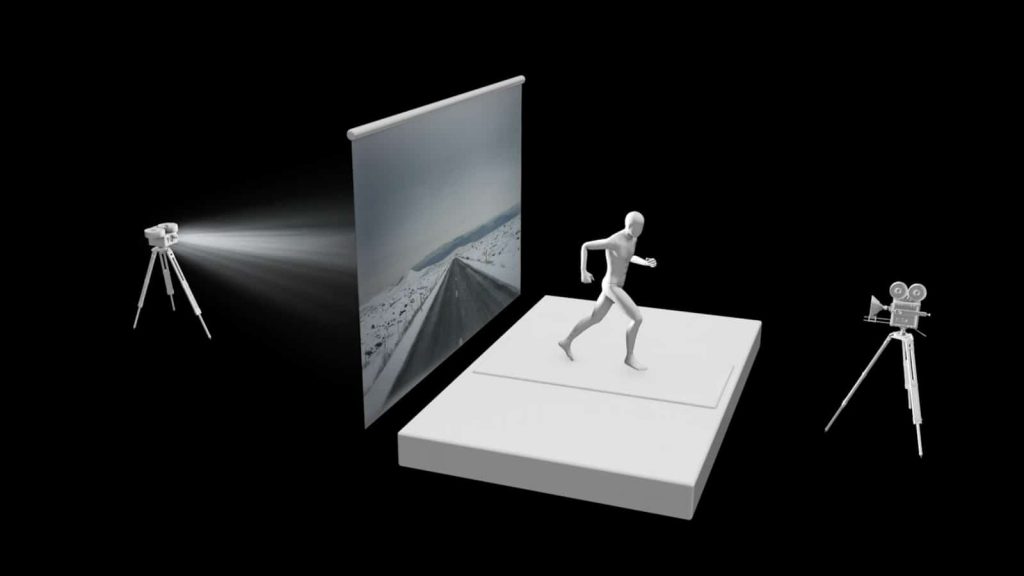
Four things are required for back projection to function at its most basic level: a projector, a screen, foreground objects, and a camera. The subjects are positioned between the camera and the screen, and pre-recorded video or still images are projected via a projector on the opposite side of the screen.
Rear projection’s aesthetic goal is typically to give the impression that the subjects are not on a sound stage. The technological goal is to streamline and make production safer and more reliable.
For your projector, you can choose ceiling or desktop rear projection. Installing your projector without making these adjustments can cause the image to be distorted in one or more ways.
Rear projection transmission
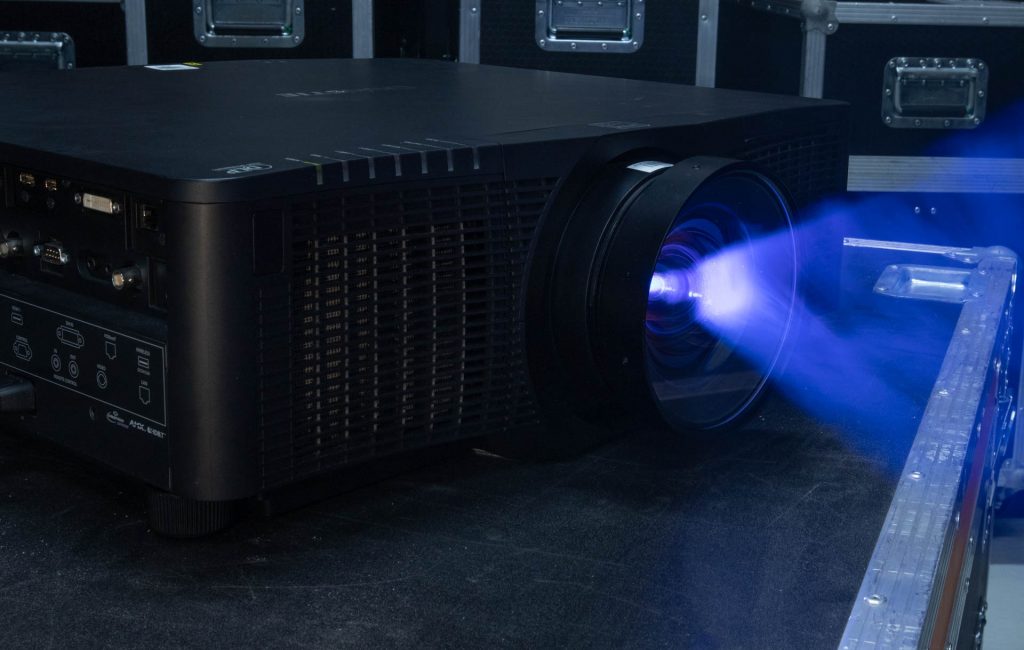
Rear projection is a feature that can be used with nearly all projectors on the market today; the setting is internal to the projector and has little to do with external factors. You must access the projector menu and select the rear projection setting to use your projector as a rear projection projector.
The concepts are very straightforward; you have to position your projector behind the screen, aiming it at the audience, switch it to rear projection mode, and you’re good to go. There is a lot of functionality and settings that you can control inside the projector, which may make the menu a little complicated at first glance.
Not changing most parameters would be best unless you know the anticipated outcomes. The ability to select the rear projection setting in your projector will typically be available in a display setting.
How Does Rear Projection Work
As I mentioned, if you want to achieve rear projection, you must place your projector behind the screen. By putting the projector behind, in an isolated space where the ambient light that hits the screen can be controlled and contained, you can achieve the best image on the screen.
Also, rear projection helps make the image more resistant to the ambient light that may be hitting it from the front of the screen. Rear projection can also be useful in noise level control, whereas front projection can cause too much noise. With rear projection, most of it will be contained by placing the projector behind the screen.
Read more: What Is A Short Throw Projector?

Space needed for rear projection
If you have a small space, you may require a projector with a short throw lens. Rear projection requires clear space behind the screen, which can mean that you are not always making the best use of your available area.
Different amounts of space are needed depending on the projector and lens you are using. You will need a distance approximately equivalent to the width of the screen you are utilizing because a short throw, rear projection lens normally has a 0.8:1 projection ratio.
Standard desktop projectors often have zoom lenses in the range of 1.5–2:1. So, you would need a lot more room, about one and a half to two times the width of the screen, if you were using one of these.
Rear projection and shadows
One of the rear projection’s key benefits is standing behind the screen without obstructing the projector’s light or creating a shadow on the image. This offers more arrangement options for the stage and the space and makes the presentation setup more professional. When using front projection, you must carefully position the projector and screen so that no presenter, audience member, or other impediments will block the light.
Viewing angles, screen gain, and brightness
In contrast to active lighting sources, screen surfaces reflect or transmit light from the projector to the audience. Each type of surface is assigned a gain number and typically has a chart that depicts that gain at various viewing angles because different surfaces display differently.
When quoted for screens, the typical screen gain is determined at zero degrees when viewed perpendicular to the center of the screen. But it is common for people to watch the screen from various angles, so it’s crucial to know how that will affect the image.
Ambient light
While front projection is highly influenced by ambient light, rear projection is less affected by other light sources. Rear projection is less affected by ambient light because it usually comes from a different direction than the projector.
Since the light comes from a different direction, it goes through the screen instead of being reflected off it. This means that in rear projection, the ambient light does not have as big of an effect as it does in front projection.
Also read: How to Flip Epson Projector Image
Conclusion
As you can see, learning how to do rear projection is simple enough. If you have the space for it, all you need to do is place your projector behind the screen instead of in front of it, and you have rear projection. However, whether you want to use a front or rear projection is up to you.
You can try out both methods and see which one suits your tastes. If you have a screen that supports both front and rear projection, you can try them out and see which one you like better. As I have mentioned, you will have better control over the light and noise levels with rear projection.