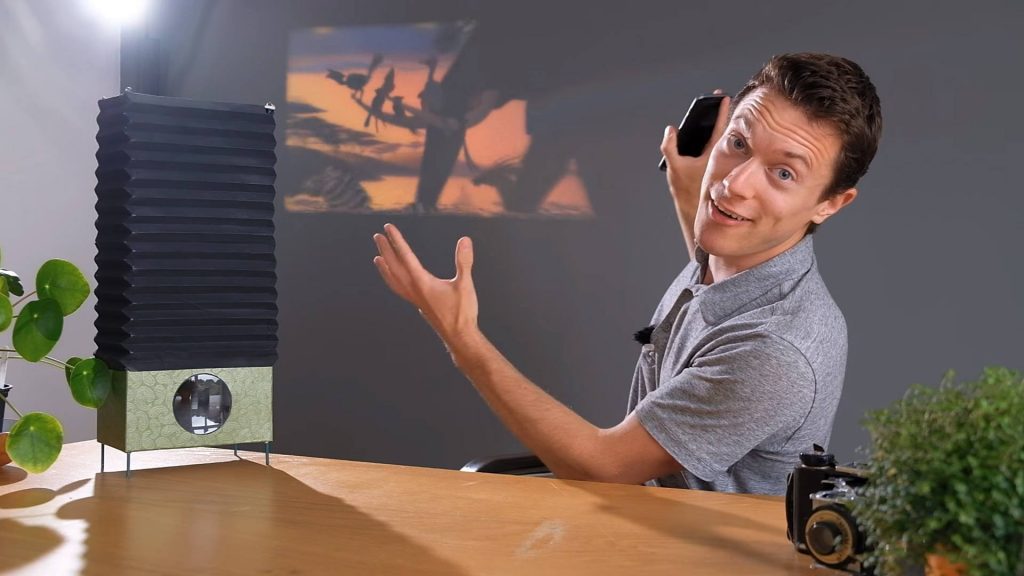
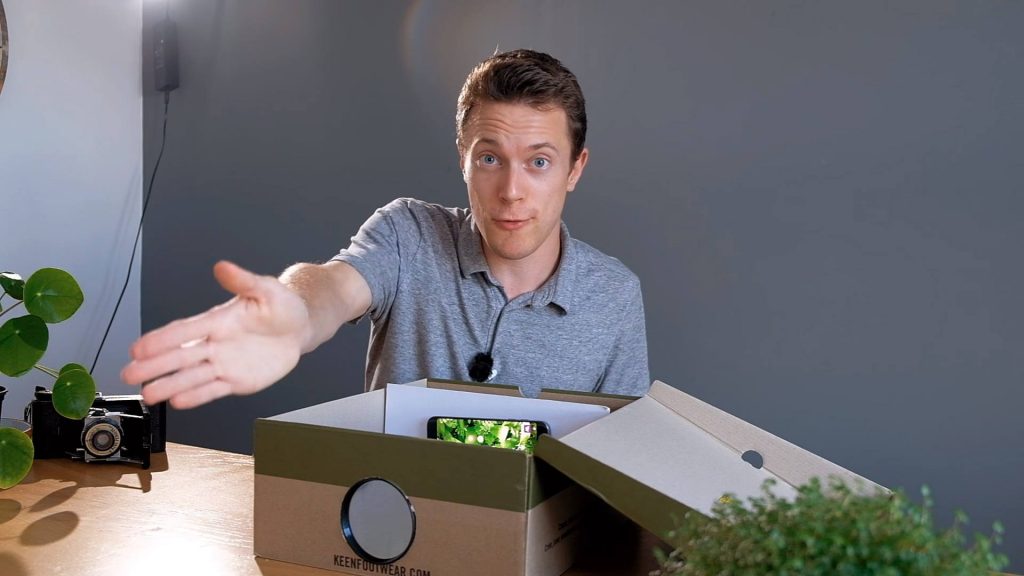
You can use your smartphone to project an image on a wall or canvas without a projector. This proves that your smartphone can be smartly used in many situations, not only for social media research. If you have a pinch of creativity and a will to craft, this might be the best thing you will ever make!
Here is a simple DIY project that is highly useful in cases you need to improvise a projector. I love simple and useful crafting projects, so here is how to project an image onto a wall without a projector.

How to Project an Image Onto a Wall Without a Projector
You will need a shoebox, black paint, magnifying glass, glue, a cutter, and your smartphone. You put the phone in the previously black-dyed shoebox, place the magnifying glass in the font, turn off the lights, and enjoy the projection. This crafting project will give you the most inexpensive projector replacement.
Make a hole for the glass and a holder for your phone. Put the phone inside on a maximum brightness level and close the box. It is best to watch the projection in a darkened room to see the image more clearly.
You can find every piece of the project in the household. This would not cost you a thing but give you a good projector improvisation. You can project the image or video on a wall or canvas as you wish.
This method has multiple advantages despite its budget cost. Among the greatest advantages here is the no-power use. Further, it has excellent portability and is lightweight. I strongly recommend trying this method since you will have nothing to lose.
In continuation, I will try to describe and explain the entire process and steps you should take to make the outcome or improvised projector. You can try projecting images and videos on flat, curved surfaces like walls, canvas, or projector screens when you make it.
How to Make Your Own Projector
What you need:
- Shoebox
- Piece of cardboard
- Cutter
- Magnifying glass
- Black paint
- Glue
- Mirror (optional).
Step 1
Cut the shoebox. Draw a circle as big as your magnifying glass on the shorter side of the shoebox. Or, you can place the magnifying glass on the cardboard and mark a circle for precise measurement.
Cut a hole for the magnifying glass head. Then, cut the handle of the magnifying glass because you would not need it. Leave the magnifying glass head on the side until the third step.
Step 2
You begin the process by painting the shoebox black. The back interior prevents the light from reflecting and dispersing and gives much better image quality.
You can make the interior black by putting a black piece of paper instead of painting it black. If you opt for the painting, you must wait for the paint to dry completely before continuing.
Read more: How Much Does A Projector Cost

Step 3
When the paint is completely dry, glue the magnifying glass head on the hole you made in the first step. You can use any glue you want. In my case, I used a hot glue gun because it is stronger and keeps the glued parts in place.
Plus, the hot glue has no smell like other school glues, and it is easy to remove from other surfaces and hands in case you mess up a little.
Step 4
Make a holder for your phone from the extra cardboard piece. Measure the width and height of the shoebox. Cut a square long and wide as measured and place another tinier piece below it (forming the letter T).
Glue these two pieces together, keeping the “T” shape. Place the “T” holder upside down, then place the phone to see if it is strong enough to hold.
Step 5
You are done with the hardware construction now. The following thing you have to do is to increase the brightness of the phone to the max and choose the image or video you want to project. Place the phone on the holder and cover the shoebox with its lid.
Step 6
The final step requires choosing a free wall and turning off the lights in your room. Now, you should see that the image or video from your phone goes through the magnifying glass and appears on the wall or projector screen.
Additional mirror version
The mirror version requires the same steps, but instead of making the “T” holder for the smartphone, this time, you cut a square on the lid with dimensions a millimeter smaller than your smartphone surface.
In the box, you place the mirror (it better be square and fit the shoebox) at an angle of 45 degrees. The mirror should be on the opposite side of the lens.
Open the image on the phone and place the phone on the shoebox lid where you previously cut the square hole.
Also read: How to Choose a Projector
Advantages and Drawbacks of the Improvised Projector
Pros
- Only a few household materials needed
- No power source required
- Easy and fast to make
- Suitable for any smartphone type and brand
- Inexpensive tools and materials
- No need for professional knowledge
- No safety concerns
Cons
- Bad image quality
- Must keep the “projector” closer to the wall or canvas
- Can not see the image on a screen as big as with the projector
Conclusion
I hope you liked my DIY project and tips on how to project an image onto a wall without a projector. I believe it is super easy and inexpensive to make this on-budget project instead of buying an actual projector.
You can choose whether to put a mirror in your crafted projector or go without it. Both options will give you a good image projection on a wall.
Do not expect an HD image or projection since this is an improvised projector, not an actual one!